
The DC403 camera is a versatile, user-friendly device designed for both professional and casual photography. With its 44MP resolution and 1080P video capabilities, it captures crisp, vibrant imagery. Its compact design and 16X zoom functionality make it ideal for on-the-go use, ensuring high-quality results in various settings.
1.1 Overview of the DC403 Camera
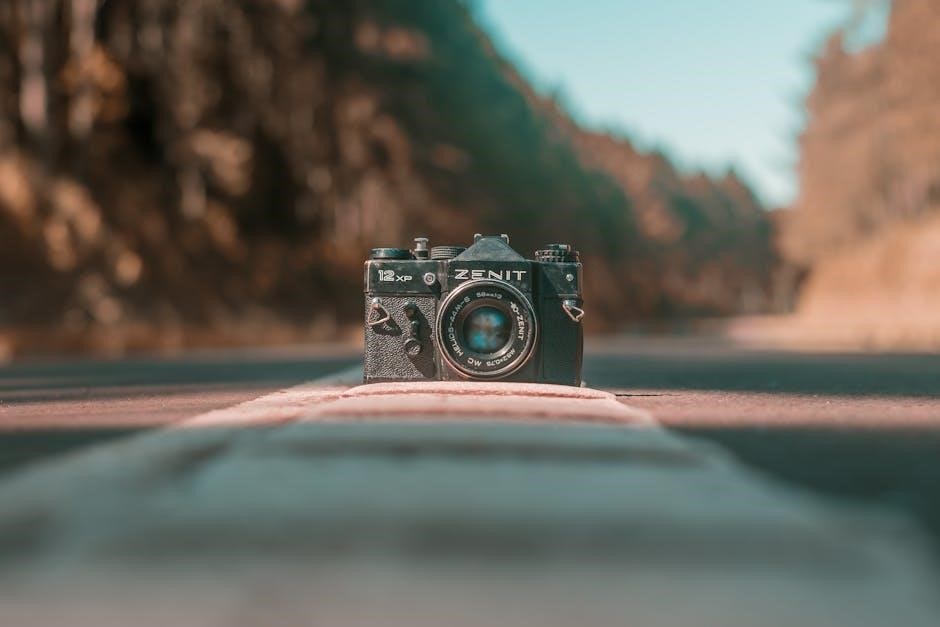
The DC403 camera is a 44MP digital camera offering 1080P video recording, designed for both professional and casual use. Its compact, portable design and 16X zoom functionality make it ideal for capturing high-quality images on the go. Suitable for photography enthusiasts and beginners alike, it combines advanced features with user-friendly operation, making it a versatile tool for various photography needs.
1.2 Key Features of the DC403 Camera
The DC403 camera features a 44MP sensor for high-resolution photos and 1080P video recording. Its compact, lightweight design ensures portability, while the 16X zoom allows for detailed close-ups. The camera supports HD video recording, has a built-in flash, and includes a rechargeable battery. It also accommodates SD cards up to 128GB, making it ideal for extended photography sessions and capturing memories with ease.
Key Features and Specifications
The DC403 camera features a 44MP sensor, 1080P video recording, a compact portable design, and a 16X zoom, making it ideal for capturing high-quality images and videos effortlessly.
2.1 44MP Resolution and 1080P Video Capability
The DC403 camera offers a high-quality 44MP resolution for crisp, detailed photos and vibrant colors; Its 1080P video capability ensures smooth, Full HD video recording, perfect for capturing life’s moments with clarity. The CMOS sensor enhances image quality, making it ideal for both photography and vlogging, while the compact design allows for effortless portability and use in various settings.
2.2 Compact and Portable Design
The DC403 camera features a lightweight and compact design, making it easy to carry on the go. Its small size and ergonomic build ensure a comfortable grip, perfect for casual photography or vlogging. Designed for portability, it is ideal for users seeking a travel-friendly camera that delivers high-quality results without the bulk, suitable for both professionals and beginners alike.
2.3 16X Zoom Functionality
The DC403 camera offers a powerful 16X zoom feature, enabling users to capture detailed shots of distant subjects with clarity. This feature combines optical and digital zoom capabilities, ensuring sharp imagery even when zooming in. The camera’s CMOS sensor and advanced stabilization technology work together to maintain focus and reduce blur, making it ideal for wildlife, sports, or landscape photography, delivering precise and high-quality results consistently.
Understanding Your DC403 Camera
Understanding your DC403 camera involves familiarizing yourself with its components, buttons, and LCD screen. This knowledge helps you navigate settings and capture photos and videos effectively, ensuring optimal use of its features and functions for both beginners and professionals alike.
Familiarize yourself with the DC403 camera’s key components. The LCD screen displays settings and previews images. The zoom button adjusts the lens for close-ups. The mode dial selects shooting modes, while the shutter button captures photos. The memory card slot holds the SD card, and the battery compartment powers the device. Understanding these parts enhances your photography experience.
3.2 Navigating the Camera Menu
Navigate the DC403 camera menu by pressing the Menu button to access settings. Use the up and down arrows to scroll through options. The center button selects items, while the Menu button exits. The Quick Menu provides fast access to common settings like ISO and white balance. Customize it under the Customize Quick Menu option in the main menu for efficiency.
Getting Started with Your DC403 Camera
Unboxing and setting up your DC403 camera is straightforward. Charge the battery using the provided USB cable, insert the SD card, and connect to your computer to download files. Refer to the manual for detailed instructions.
4.1 Unboxing and Initial Setup
Unboxing your DC403 camera reveals a sleek, compact device. Inside, you’ll find the camera, a USB cable, charger, lithium battery, lanyard, lens cloth, and an English/Chinese user manual. Before first use, charge the battery fully and insert the SD card to ensure proper functionality. Refer to the manual for step-by-step setup guidance.
4.2 Charging the Battery
To charge the DC403 camera battery, use the provided USB cable and connect it to the charger or a computer. The camera’s indicator light will turn red during charging and extinguish when fully charged. Ensure the battery is charged for at least 1-2 hours before first use. Always use the original accessories to avoid damage and maintain battery health.
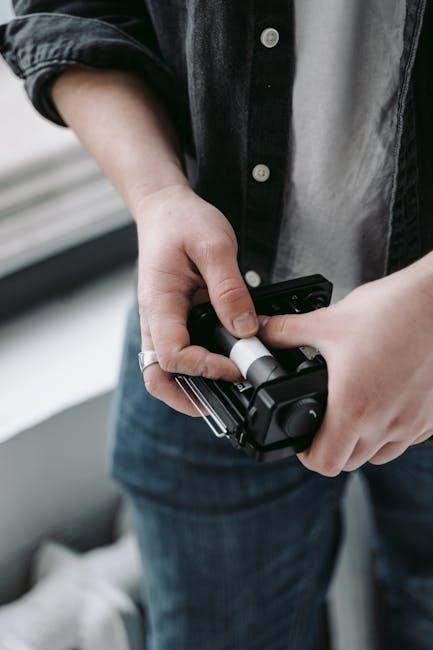
4.3 Inserting and Removing the Battery
Ensure the camera is turned off before handling the battery. 2. Open the battery compartment located at the bottom. 3. Insert the battery with the contacts facing the correct direction until it clicks. 4. To remove, press the battery release button and slide it out gently. Avoid removing the battery while the camera is in use to prevent data loss.
4.4 Using an SD Card
Insert the SD card into the slot located on the side of the camera. 2. Ensure the card is properly seated and formatted. 3. The camera will automatically recognize the card. 4. Use the menu to format the card if necessary. 5. Always eject the card safely to prevent data loss. Store the card in a protective case when not in use.

Basic Photography and Video Recording
The DC403 camera offers intuitive controls for capturing photos and videos. Use the shutter button for photos and the video mode for recording. Adjust settings like brightness and zoom for optimal results. The camera’s 44MP resolution and 1080P video capability ensure high-quality output, making it perfect for casual and professional use.
5.1 Taking Photos
The DC403 camera allows you to capture high-quality photos with its 44MP resolution. To take a photo, press the shutter button fully. Use the 16X zoom for detailed shots. Ensure proper lighting for optimal results. Review photos on the LCD screen and delete unwanted ones. Experiment with settings like brightness and contrast for better imagery. Store photos on an SD card for easy access and sharing.
5.2 Recording Videos
To record videos, select the video mode using the camera’s menu. Press the shutter button to start recording. The DC403 supports 1080P resolution, ensuring clear and vibrant footage. Use the 16X zoom to capture detailed scenes. Stabilize the camera for smoother videos. Review recorded videos on the LCD screen and adjust settings like frame rate for optimal results. Pause or stop recording as needed.
5.3 Basic Settings for Optimal Capture
Adjust the camera settings to enhance your photography and videography. Set the resolution to 44MP for high-quality images and 1080P for clear videos. Use the 16X zoom to capture distant subjects. Enable image stabilization for shake-free results. Adjust exposure compensation and white balance to suit lighting conditions. Experiment with auto or manual focus for sharpness. Review and adjust settings as needed for optimal results.
Transferring Files to Your Computer
Connect the DC403 camera to your computer using the USB cable. The camera will appear as a removable drive. Open File Explorer, locate the DC403 camera, and transfer photos and videos to your computer for storage and editing.
6.1 Connecting the Camera to Your Computer
To connect the DC403 camera to your computer, use the provided USB cable. Turn on the camera and connect it to your computer using the Type-C cable. A dialog box will appear on the camera screen. Select “PC Camera” to establish the connection; Your computer will recognize the device, allowing you to access and transfer files easily.
6.2 Downloading Photos and Videos
Once connected, your computer will recognize the DC403 camera as a storage device. Open the device folder to access your photos and videos. Select the files you wish to download and transfer them to your computer. The process is straightforward, allowing easy management of your media. Ensure the cable remains connected until the transfer is complete for data integrity.
6.3 Organizing Your Media Files
To keep your media files tidy, create dedicated folders for photos and videos. Use clear naming conventions, such as dates or events, for easy access. Organizational software can help manage and categorize your files efficiently. This structured approach ensures your memories remain easily searchable and well-preserved.
Using the DC403 Camera as a Webcam
The DC403 camera can function as a webcam, enabling video conferencing and live streaming. Connect it to your computer using a USB cable and select PC camera mode for seamless integration.
7.1 Setting Up the Camera as a Webcam
Connect your DC403 camera to a computer using a type-C USB cable while the camera is on. A dialog box will appear on the camera screen; select “PC camera” to activate webcam mode. Ensure the camera is properly recognized by your computer and adjust settings as needed for optimal video performance. After use, disconnect the cable to exit webcam mode.
7.2 Troubleshooting Webcam Functionality
If the camera is not detected, ensure the type-C cable is securely connected and the camera is turned on. Restart the camera and computer if necessary. If the dialog box doesn’t appear, check the USB connection and settings. For connectivity issues, verify that the camera is in webcam mode and recognized by your computer’s software. Consult the manual for detailed troubleshooting steps.

Maintenance and Care
Regularly clean the camera lens and exterior with a soft cloth to prevent smudges and damage. Store the device in a dry, cool place to ensure longevity and optimal performance. Refer to the user manual for detailed care instructions to maintain your DC403 camera effectively.
8.1 Cleaning the Camera
Regular cleaning is essential for maintaining the DC403 camera’s performance. Use a soft, dry cloth to gently wipe the lens and exterior surfaces. Avoid harsh chemicals or abrasive materials that could damage the finish. For stubborn smudges, lightly dampen the cloth with water, but ensure it is dry before wiping. Never spray cleaning solutions directly onto the camera or lens. Proper cleaning ensures clear imagery and longevity.
8.2 Proper Storage Techniques
Store the DC403 camera in a cool, dry place to prevent moisture and humidity damage. Use a protective case or pouch to shield it from scratches and dust. Avoid extreme temperatures and direct sunlight, which can harm internal components. Remove the battery and memory card when storing for extended periods to prevent corrosion or data loss. Proper storage ensures longevity and optimal performance.
Troubleshooting Common Issues
This section provides solutions for common problems, such as battery charging issues, SD card errors, and connectivity problems. Follow the steps to resolve issues effectively.
9.1 Resolving Battery Charging Issues
If the camera isn’t charging, ensure the USB cable is securely connected to both the camera and the charger. Check for loose connections or damaged cables. Verify the charger is functioning properly by testing it with another device. If issues persist, try using a different USB cable or consult the user manual for troubleshooting steps. The camera’s indicator light will turn red during charging and turn off when fully charged.
9.2 Fixing SD Card Errors
If the SD card isn’t recognized, ensure it’s properly inserted and formatted. Use the camera’s menu to format the card, as it may resolve errors. Check for compatibility and ensure the card isn’t full. If issues persist, try the card in another device or replace it. Refer to the user manual for detailed formatting instructions to restore functionality and prevent data loss effectively.
9.3 Addressing Connectivity Problems
To resolve connectivity issues, ensure the camera is turned on and properly connected to your computer using the provided USB cable. Restart both devices and verify the USB port is functional. Check the camera’s menu settings to enable file transfer mode. If problems persist, update the camera’s firmware or reinstall drivers on your computer. Consult the user manual for additional troubleshooting steps to restore connectivity efficiently.
Advanced Features and Settings
The DC403 camera offers advanced features like 44MP resolution, 1080P video recording, and 16X zoom. Special settings include timer, burst mode, and scene selection for enhanced photography.
10.1 Exploring Advanced Camera Settings
The DC403 camera features advanced settings like timer, burst mode, and scene modes for tailored photography. Manual focus, exposure compensation, and custom white balance enhance control. These settings allow users to optimize image quality and creativity, catering to both professionals and enthusiasts seeking precise results in various lighting conditions and compositions.
10.2 Using Special Features
The DC403 camera offers special features like time-lapse photography and slow-motion video recording. These modes allow users to capture unique perspectives and creative content. Additionally, the camera supports advanced autofocus for sharp images and noise reduction for clear videos. These features enhance versatility, making the DC403 suitable for various photography and videography needs.
The DC403 camera offers a user-friendly experience, perfect for photography enthusiasts and casual users. Explore its advanced features and follow maintenance tips for optimal performance and longevity.
11.1 Summary of Key Points
The DC403 camera is a versatile, user-friendly device with 44MP resolution, 1080P video, and 16X zoom. It features a compact design, making it ideal for various photography needs. The manual provides detailed guidance on setup, functionality, and troubleshooting, ensuring optimal use for both beginners and experienced users. Proper care and maintenance are emphasized for longevity.
11.2 Final Tips for Optimal Use
Regularly clean the lens and camera body to maintain image quality. Store the camera in a cool, dry place to prevent damage. Always use the original charger and accessories to ensure safety and performance. Organize your files promptly after transfer to avoid clutter. Explore advanced settings for enhanced creativity, and refer to the manual for troubleshooting common issues.