
Welcome to the Craftsman garage door opener instructions! This guide provides essential information for safe installation, operation, and maintenance of your garage door opener system.
Safety Precautions
Safety is paramount when installing and operating your Craftsman garage door opener. Disable all locks, remove ropes, and follow all safety rules before first use. Keep the manual near the door for quick reference.
2.1. Importance of Safety
Safety is crucial when dealing with garage door openers to prevent accidents and ensure proper functionality. Adhering to safety guidelines helps avoid injuries and potential damage to the system. Always disable locks and remove ropes before installation to prevent entanglement. Reading the manual thoroughly ensures understanding of all safety protocols. Failure to follow instructions can lead to hazardous situations, such as uncontrolled door movement. Regular maintenance and inspections are also vital to maintain safety standards. By prioritizing safety, you can enjoy a reliable and secure garage door opener system for years to come. Stay informed and proactive to protect yourself and others.
2.2. Key Safety Warnings During Installation and Operation
Always follow safety warnings to ensure safe installation and operation of your Craftsman garage door opener. Disable all locks and remove ropes connected to the door before installation to avoid entanglement; Never operate the door until the opener is fully installed and tested. Keep children and pets away during installation and operation. Avoid standing under a moving door, as it can cause serious injury. Ensure the door is properly balanced to prevent sudden drops. Never attempt to modify the opener’s components, as this can lead to malfunction. Follow all instructions carefully to avoid accidents and ensure reliable performance.

Installation Steps
Install your Craftsman garage door opener by assembling the rail, attaching the motor, and securing the pulley system. Follow the step-by-step guide for proper assembly and mounting.
3.1. Essential Tools and Materials Needed
To install your Craftsman garage door opener, gather the necessary tools and materials. You’ll need a drill, screwdrivers, wrenches, pliers, and a ladder for reaching heights. Ensure you have lag screws, mounting brackets, and a cable pulley system. Additional materials like a level and measuring tape will help ensure accurate alignment and installation. Refer to your owner’s manual for specific hardware requirements, as some components may vary by model. Having all tools and materials ready will streamline the installation process and prevent delays.
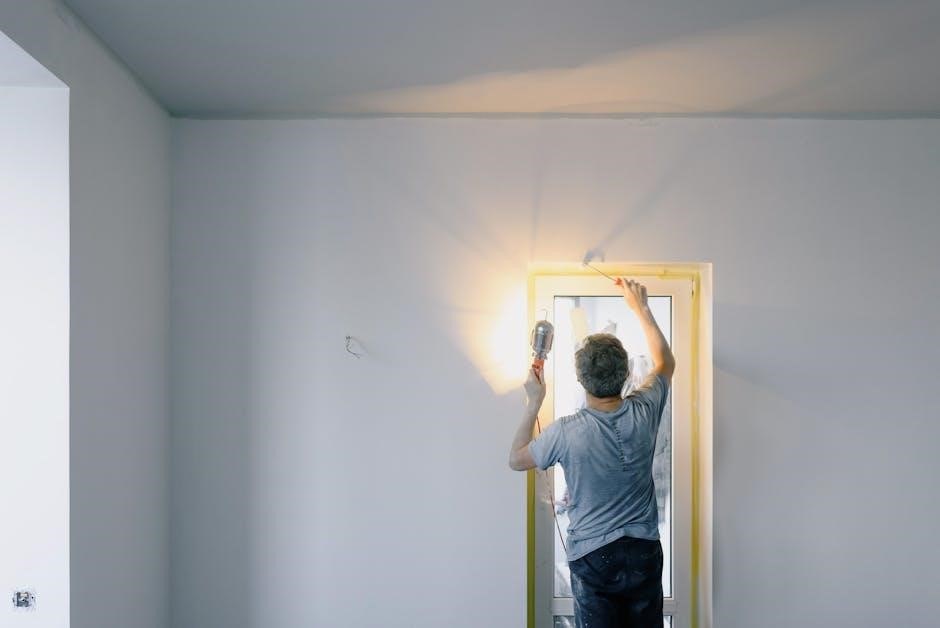
3.2. Step-by-Step Assembly and Installation Guide
Begin by assembling the tee rail and attaching the cable pulley bracket. Secure the motor unit to the ceiling using lag screws, ensuring it’s level. Next, disconnect the garage door from its springs and carefully lift it to align with the rail system. Attach the door arms to the opener and connect the pulley system. Install the door control and sensors, ensuring they are properly aligned. Test the door’s operation by pressing the remote control. If it doesn’t function smoothly, check all connections and adjustments. Once installed, perform a final safety check to ensure proper operation and alignment.

Maintenance Tips
Regularly lubricate moving parts, inspect cables and springs for wear, and ensure all components are tightly secured. Check door balance and alignment for smooth operation.
4.1. Regular Lubrication of Moving Parts
Regular lubrication ensures smooth operation and extends the lifespan of your garage door opener. Apply a silicone-based spray lubricant to the chain, gears, and rollers seasonally. Avoid using oil, as it can attract dust and dirt. Lubricate the hinges and springs as well, but never over-lubricate, as this can cause mechanical issues. Wipe off any excess with a clean cloth to prevent drips and messes. Proper lubrication reduces noise and wear, ensuring your Craftsman opener runs efficiently year-round.
4.2. Inspecting and Replacing Worn Components
Inspect your garage door opener’s components monthly for wear. Check the chain, belt, and pulleys for signs of fraying or damage. Lubricate moving parts if they show excessive wear. Replace any worn or damaged components immediately to prevent system failure. Spring tension should be checked annually by a professional. Ensure all screws and bolts are tightened securely. Regular inspections help maintain safety and efficiency, preventing costly repairs. Refer to your owner’s manual for replacement part numbers and installation instructions.
Troubleshooting Common Issues
Identify common issues like the door not closing or error lights. Check sensors, remote functionality, and power connections. Refer to the manual for diagnostic steps and solutions.
5.1. Diagnosing Why the Door Won’t Close
If your garage door won’t close, start by checking the sensors for proper alignment and cleanliness. Ensure no obstacles are blocking the door’s path. Verify the remote control’s functionality and battery status. If issues persist, inspect the door tracks for damage or misalignment. Lubricate moving parts if they appear stuck. Consult the manual for specific diagnostic steps, such as resetting the opener or adjusting sensitivity settings. Cold weather may also affect performance, so apply lubrication to hinges and rollers as needed. Always refer to the troubleshooting guide in your Craftsman manual for detailed solutions.
5.2. Interpreting and Resolving Error Lights
Error lights on your Craftsman garage door opener indicate specific issues. A steady or blinking light typically signals problems like sensor misalignment, obstruction detection, or system malfunctions. Refer to your manual to interpret the exact pattern. For example, one blink may indicate sensor issues, while two blinks could signal an obstruction. To resolve, ensure sensors are clean and aligned, clear any obstructions, and check for proper door balance. If the issue persists, reset the opener by disconnecting power and reconnecting it. Consult the troubleshooting section in your manual for detailed error code meanings and step-by-step solutions to restore functionality.
Programming the Remote Control
Press and hold the Learn button on the opener until the light turns on, then press the remote control button within 30 seconds to sync it.
6.1. Programming Steps for Remote Control
To program your Craftsman garage door opener remote, start by locating the Learn button on the opener. Press and hold it until the indicator light illuminates. Within 30 seconds, press and hold the desired button on your remote control. Release it when the light blinks, confirming synchronization. Test the remote to ensure proper function. For additional remotes, repeat the process. Ensure no obstructions are near the opener during programming. If issues arise, consult the manual or reset the remote before retrying.
6.2. Resetting the Remote Control
To reset your Craftsman garage door opener remote, press and hold the Learn button until the indicator light illuminates. Within 30 seconds, press and hold the remote button you wish to program. Release it when the light blinks. Turn the remote off and on again to test functionality. If issues persist, repeat the process or consult the manual. Ensure the remote is compatible with your opener’s frequency. Resetting helps resolve connectivity problems and ensures smooth operation. For advanced models, refer to the myQ technology guide for additional troubleshooting steps.
Upgrading to a Smart Garage Door Opener
Upgrade your Craftsman opener to a smart system using myQ technology for enhanced control via smartphone apps. Ensure compatibility with your existing model for seamless integration and improved convenience.
7.1. Compatibility with myQ Technology
myQ technology is compatible with most Craftsman garage door openers manufactured after 1993, ensuring seamless integration. This smart system allows remote monitoring and control via the myQ app. Check your opener’s model number to confirm compatibility before upgrading. Installation requires a myQ Wi-Fi hub, which connects to your home network. Once installed, you can operate your garage door from anywhere and receive real-time notifications. Ensure your opener has the necessary hardware for myQ compatibility, such as a compatible logic board or an external adapter for older models.
7.2. Steps to Upgrade Your Opener
To upgrade your Craftsman garage door opener to a smart system, start by ensuring compatibility with myQ technology. Purchase a myQ Wi-Fi hub and download the myQ app. Next, locate the “Learn” button on your opener and press it until the indicator light activates. Connect the hub to your home Wi-Fi network and follow in-app instructions to pair the devices. Mount the hub near the opener and test functionality. If issues arise, reset the opener and repeat the process. This upgrade enhances convenience and security, allowing remote access and notifications. Troubleshoot by ensuring stable internet connection and proper wiring.
Warranty and Repair Options
Craftsman garage door openers come with a 90-day full warranty and a limited 1-year parts warranty. DIY repairs are possible, or opt for professional Sears service.
8.1. Understanding the Warranty Coverage
Craftsman garage door openers are backed by a 90-day full warranty, covering repairs free of charge if defects in material or workmanship are found. From day 91 to one year, Sears provides replacement parts for defective components at no cost, though labor or service calls may incur charges. This warranty ensures protection against manufacturing defects, offering peace of mind for homeowners. Regular maintenance, as outlined in the manual, is essential to uphold warranty validity. Exclusions may apply for damage caused by misuse or normal wear and tear, so review the manual for full details.
8.2. DIY Repair vs. Professional Service
DIY repairs for Craftsman garage door openers can save time and money for minor issues like lubricating parts or replacing remote batteries. However, complex problems such as motor malfunctions or sensor misalignment often require professional expertise to avoid further damage. The owner’s manual provides troubleshooting guides for common issues, but if repairs are beyond your skill level, contacting a certified technician is recommended. Sears offers professional service options, ensuring repairs are done safely and efficiently, while DIY approaches are best suited for simple, low-risk maintenance tasks outlined in the manual.
This guide has provided comprehensive instructions for installing, maintaining, and troubleshooting your Craftsman garage door opener. By following the safety precautions and step-by-step directions, you can ensure reliable performance and longevity of your system. Regular maintenance, such as lubricating moving parts and inspecting components, is crucial for optimal functionality. For complex issues, consider professional service to avoid potential risks. Upgrading to smart technology like myQ can enhance convenience and security. Refer to your warranty for repair options and ensure compliance with all safety guidelines. With proper care, your Craftsman garage door opener will provide years of dependable service.